Most plots are not perfectly level, and that is no bad thing: a well-handled change of level gives a garden rhythm and structure, and on the hillsides of Málaga province — from Mijas to Benalmádena, from Rincón de la Victoria up to Ronda — it is the norm rather than the exception. The question is always the same: how do you bridge the height difference so that it lasts and looks good? The answer depends on the size of the drop, and one of the most versatile tools for the job is the precast concrete road kerb.
How big a level difference are we talking about?
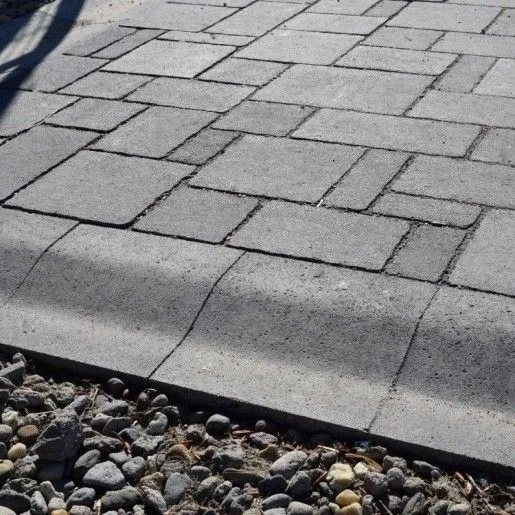
A difference of a few centimetres normally needs no special treatment at all: it can be absorbed in the fall of the paving itself, which you want for drainage anyway. A difference of several tens of centimetres already calls for a proper constructed solution, while a change of several metres demands serious design work — a retaining wall, a graded slope or a well-proportioned flight of steps.
What is a road kerb, and why does it work so well?
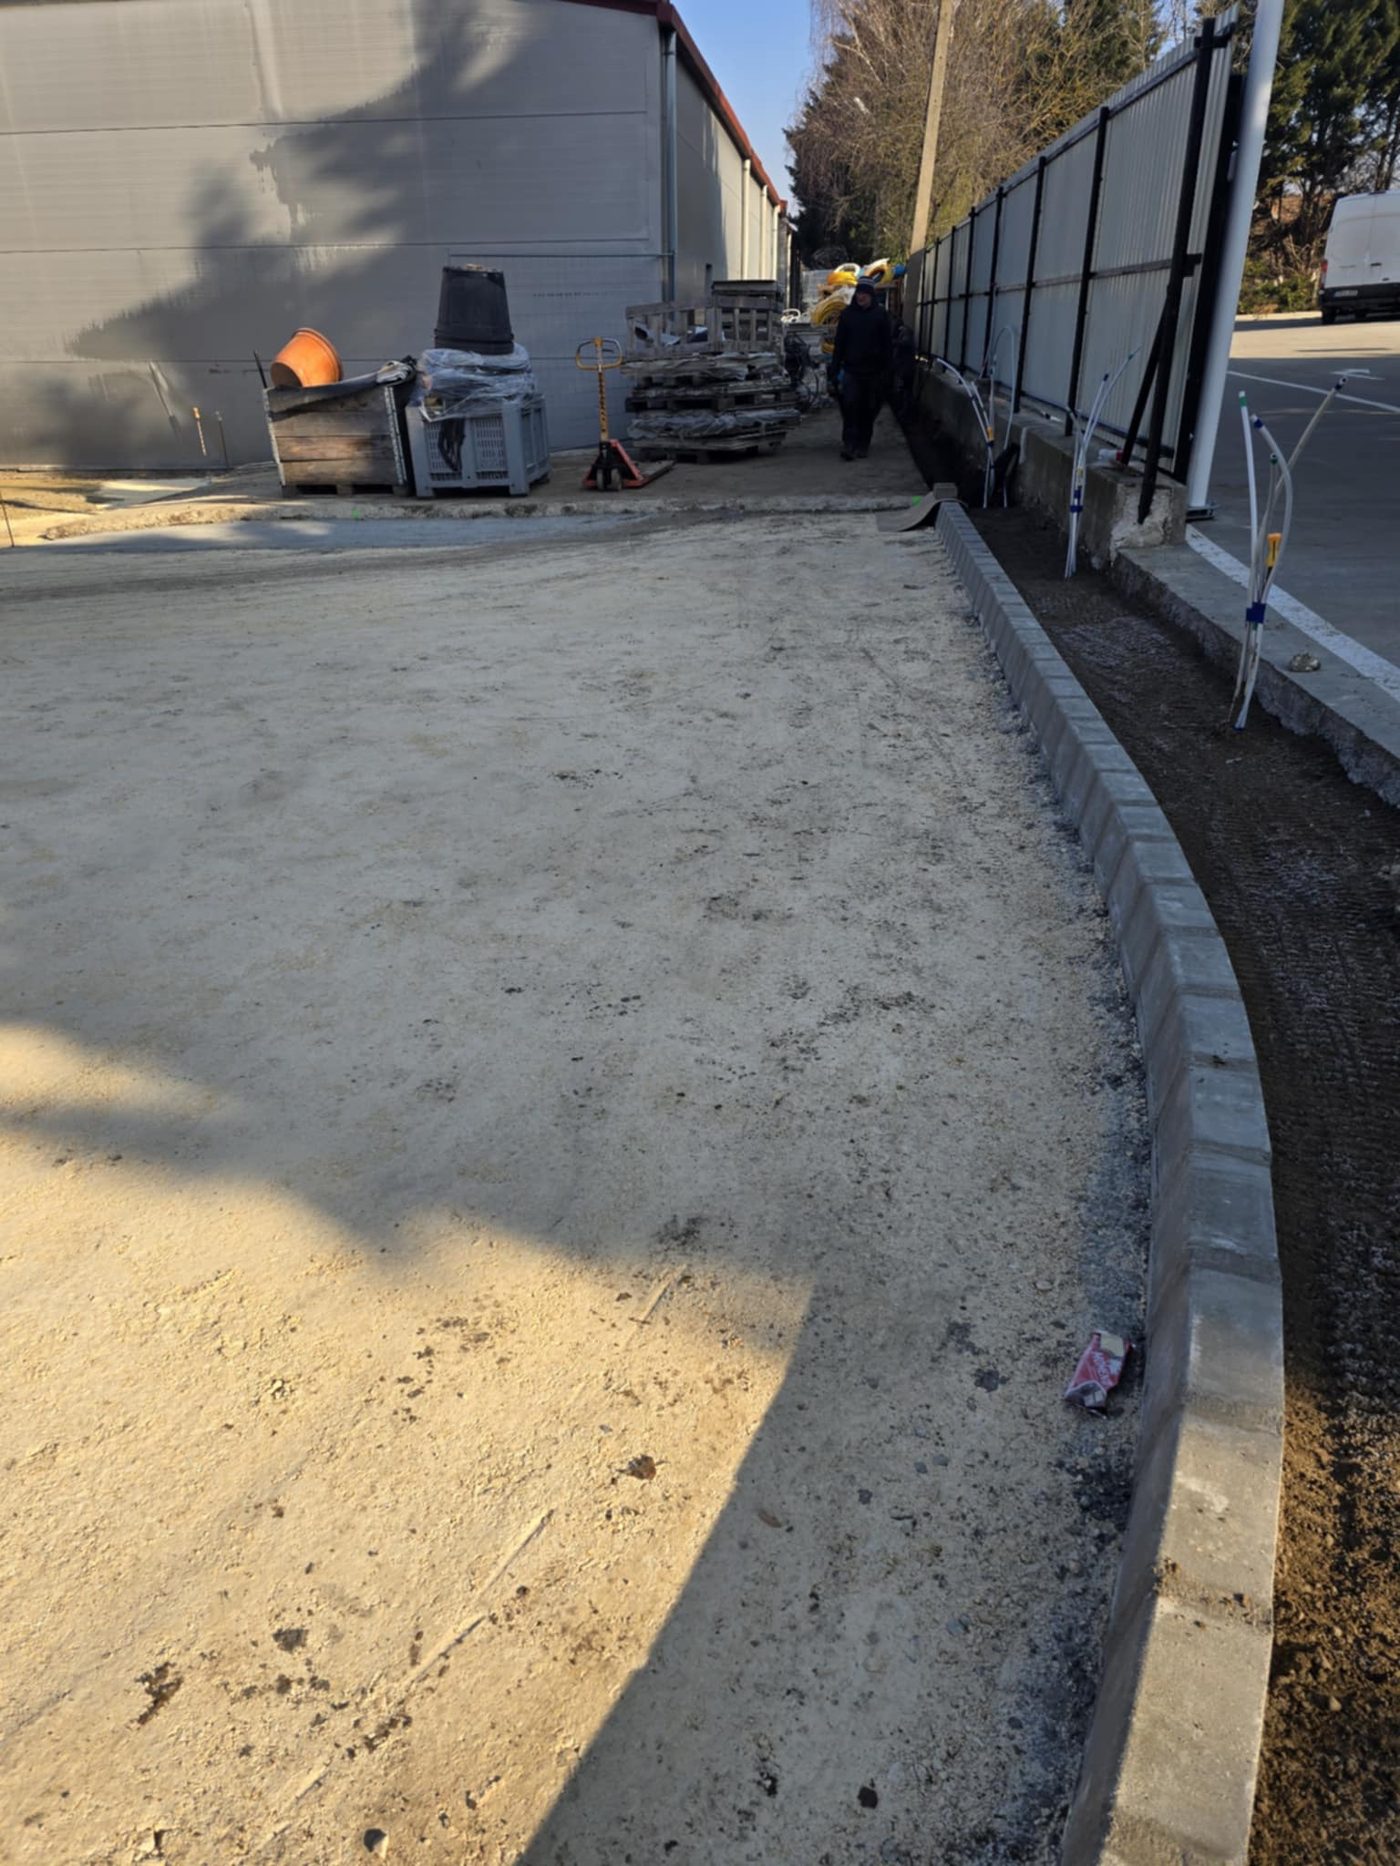
The road kerb is a large-format, heavy-duty precast concrete unit with a splayed top edge, manufactured to UNE-EN 1340. It was originally developed for road construction, to form the upstand between footway and carriageway, but in the garden it is just as effective at holding back a change in level. It is a massive, load-bearing element that also draws a clean, decisive line along the edge of the paving.
Installation step by step
- Setting out: the kerb line is marked with a string line and its exact level set with a level; precision here saves corrections later.
- Trench and concrete bed: kerbs are always laid on a concrete bed, never straight onto soil.
- Laying: the units are bedded into the fresh concrete and tapped to the design level with a rubber mallet.
- Concrete haunching: the outer face is backed with a concrete haunch — this is what provides long-term stability.
- Junctions: the paving on each level is laid tight against the kerb, which acts as both trim and edge restraint.
When is a retaining wall the better choice?
The road kerb is ideal for small and medium level differences. Once the height difference exceeds what a single course of kerb can hold, you need a retaining wall, which also takes the pressure of the earth behind it. The two combine very well, incidentally: the wall retains the big change in level, while the kerb provides the fine finish at the edge of the paving.
A level difference, in short, is not a problem but an opportunity. With well-laid road kerbs, the changes of height in your garden are resolved solidly, durably and neatly — a result that stands for decades and looks good doing it.
Do you have a sloping plot anywhere in the province of Málaga? Call us on +34 613 656 443, e-mail oficina@adoquin.eu or request a free quote — after a free site survey we will propose the right solution for your garden.
Planning a paving project?
Request a free site survey: we measure, advise, and within 1–2 working days you receive a detailed written quote.